Checking in at your Disney Resort hotel
- Online check-in opens 60 days early. Use the My Disney Experience app to check in up to 60 days before your trip. You can skip the front desk and go straight to your room.
- Standard check-in is 3 p.m. Rooms are not guaranteed before 3 p.m. (4 p.m. for Deluxe Villas), but completing online check-in early sometimes gets you in sooner.
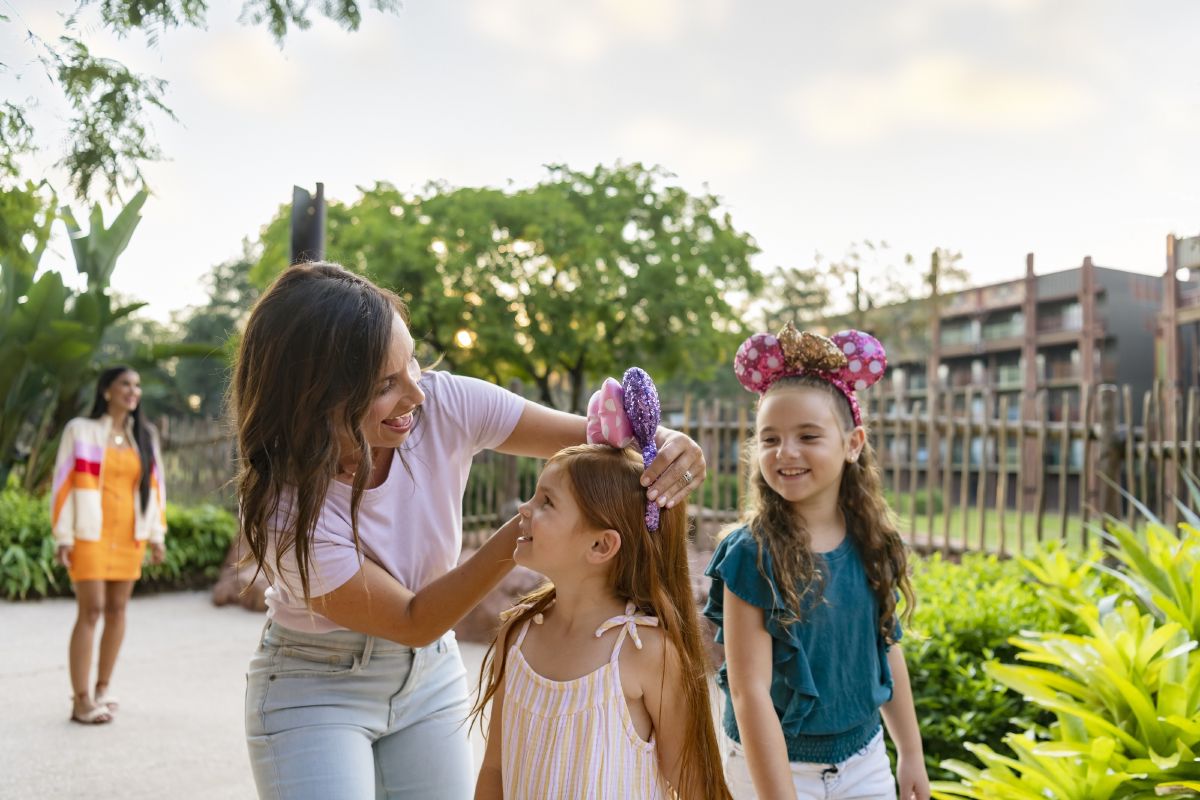
- Room requests are not guaranteed. You can make two room location requests during online check-in. A travel advisor can also call ahead to add specific requests to your reservation.
- Your vacation starts before your room is ready. Drop bags at Bell Services, use the pool, start your dining plan, or head to a park while you wait.
You can check in to your Walt Disney World® Resort hotel before you leave home. The My Disney Experience app lets you complete the entire process up to 60 days ahead of your arrival. On the day you arrive, the app sends a notification with your room number as soon as your room is ready. You can walk straight to your door and unlock it with your phone or MagicBand/MagicBand+. No front desk stop needed.
If you prefer to check in at the front desk, that works too. Cast Members are there to help with room requests, answer questions, and make sure your arrival goes well.
Online check-in
Online check-in through My Disney Experience saves time on arrival day and gives you access to your room the moment it is ready.
How to check in online
You can complete online check-in as early as 60 days before arrival. Open the My Disney Experience app or go to Walt Disney World Resort website. Find your resort reservation and tap “Start Online Check-In.” The system walks you through a few steps:
- Confirm your party. Add names and contact details for every guest on the reservation. Each guest 18 or older can link the reservation to their own My Disney Experience account.
- Add a credit card. This credit card on file covers any charges during your stay: room service, gift shop purchases, and dining. Disney keeps one card at a time. If you add a new card during check-in, it replaces any card already saved.
- Set your arrival time. Pick an estimated arrival time so the resort team knows when to expect you. If you select “Not Sure,” the system defaults to 11 a.m. Setting an earlier time does not guarantee an earlier room, but it helps the team plan.
- Make room requests. You can choose up to two location preferences from the options available for your resort. Common choices include “Near bus stop,” “Near pool,” “Upper floor,” “Lower floor,” and “Near elevator.” Put your top priority first.
For first-time visitors
What happens on arrival day
On the morning of your check-in day, the My Disney Experience app starts showing real-time updates about your reservation. When your room is ready, you get a push notification, a text message, and an email with your room number and a map of the resort.
From there, walk straight to your hotel room. Unlock the door with the My Disney Experience app, your MagicBand/MagicBand+, or a Key to the World card from the front desk.
Rooms are ready by 3 p.m. (4 p.m. for Deluxe Disney Resort Villas). Some rooms open earlier, especially if the resort is not at full capacity. Online check-in doesn’t speed up room assignment, but it notifies you the moment your room is available rather than requiring you to wait in a lobby line.
Get your phone ready
Your smartphone runs most of your Walt Disney World Resort vacation. Room key, park tickets, Lightning Lane selections, mobile food orders, and real-time wait times all live in the My Disney Experience app. By the time you check in, you should already have My Disney Experience set up. A few phone settings need attention before you leave home so everything works the moment you arrive.
Turn on Location Services and Bluetooth
The My Disney Experience app needs Location Services and Bluetooth for several features. It unlocks your resort room with Digital Key and links your Disney PhotoPass® images and on-ride photos to your account so you can download them after your trip. It also shows wait times near you, remembers where you parked, and supports MagicBand+ features.
- Open Settings.
- Tap Privacy & Security.
- Tap Location Services and make sure it is on.
- Scroll down to My Disney Experience and select “While Using the App.”
- Go back to Settings.
- Tap Bluetooth and toggle it on.
- Open the My Disney Experience app and tap Allow when it asks for location and Bluetooth access.
- Before you ride attractions, make sure Low Power Mode is off. It disables background Bluetooth, and the beacons on the ride need that connection to match your on-ride photos to your account.
- Open Settings.
- Tap Location and toggle it on.
- Go back to Settings.
- Tap Connected devices.
- Tap Connection preferences.
- Tap Bluetooth and toggle it on. The exact path varies by phone brand, but searching “Location” or “Bluetooth” in your Settings app gets you there.
- Open the My Disney Experience app and grant location permission when prompted.
- Before you ride attractions, make sure Battery Saver is off. It disables background Bluetooth, and the beacons on the ride need that connection to match your on-ride photos to your account.
Set up Disney MagicMobile
If you did not set up Disney MagicMobile Service when you first booked your trip, do it now. MagicMobile turns your phone into a contactless park ticket and room key. You will use it throughout your trip.
Enable push notifications
Turn on notifications for the My Disney Experience app in your phone’s settings. The app sends your room-ready alert on check-in day, Lightning Lane reminders, and dining reservation alerts.
Bring a portable charger
The My Disney Experience app, GPS, Bluetooth, photos, and screen brightness in the Florida sun drain a phone battery fast. A portable charger keeps your phone running all day. If you forget one, Disney sells portable charger kiosks throughout the parks and resorts, but bringing your own saves money and the hassle of finding a kiosk when your battery is low. Add one to your packing list.
For first-time visitors
Checking in at the front desk
The front desk is still available to every guest, whether you completed online check-in or not. Cast Members in the lobby can help you check in, answer questions, and handle any special situations.
Some reasons to stop at the front desk even if you checked in online:
- Room request follow-up. If a specific room location matters to your family (a ground-floor room for a grandparent, a room near the Disney Skyliner station, or a room with a view), mention it again at the desk. Cast Members can sometimes adjust assignments on the spot, especially early in the day before the resort fills up.
- Connecting or adjoining rooms. If your group booked two or more rooms and needs them next to each other, check at the desk that your rooms connect. Online check-in does not guarantee room proximity for multi-room reservations.
- Special celebrations. Let the front desk know if your family is celebrating a birthday, anniversary, or first visit. Cast Members often have small surprises available.
- Questions about the resort. The front desk team knows the resort layout, pool hours, dining options, and transportation schedules. They can point you in the right direction for anything.
Do I have to stop at the front desk if I checked in online?
Room requests
Room requests are preferences, not guarantees. Disney does its best to honor them, but availability on your check-in day determines what is possible. A focused strategy improves your chances.
How to make room requests
There are three ways to submit room requests, and you can use them together:
- During online check-in. Choose up to two location preferences from the dropdown options. These are general options: “Near pool,” “Near bus stop,” “Upper floor.” Put the most important one first.
- Call Disney Reservations. Call (407) 934-7639 with your confirmation number and ask to add room requests to your reservation. Phone requests can be more specific than online options. You can name a building, a floor, or a wing.
- Through a travel advisor. A Good Story Vacations advisor can call the resort and add detailed requests tied to your family’s needs. Advisors know which buildings are closest to transportation and which rooms have the best views. They also know which floor plans work for families with young kids or mobility concerns.
Tips for better results
- Limit your requests to one or two. The more specific and narrow your list, the harder it is to fill. Asking for a top-floor corner room near the elevator with a fireworks view is unlikely. Pick one thing that matters most.
- Be consistent. Your travel advisor might request a ground-floor room. But if you select “Upper floor” during online check-in, those requests conflict. The room assigner does not know which one you want. Make sure all your requests point the same direction.
- Check in early in the day. The resort assigns rooms from the available pool. Earlier arrivals have more options. If a specific location matters, arriving in the morning gives the team more to work with.
- Follow up at the front desk. If you arrive and your room does not match your request, ask at the desk if anything else is available. Cast Members will check, and early in the day there is often flexibility.
For multigenerational groups
What to do before your room is ready
Your vacation begins the moment you arrive at your Disney Resort hotel, even if your room is not ready yet. There is plenty to do while you wait.
- Drop your bags at Bell Services. Every Disney Resort hotel has a Bell Services desk near the lobby. Drop your luggage there at no charge. When your room is ready, you can pick up the bags yourself (free) or ask Bell Services to deliver them to your room for a fee. If you ordered groceries ahead of time, pick those up at Bell Services too.
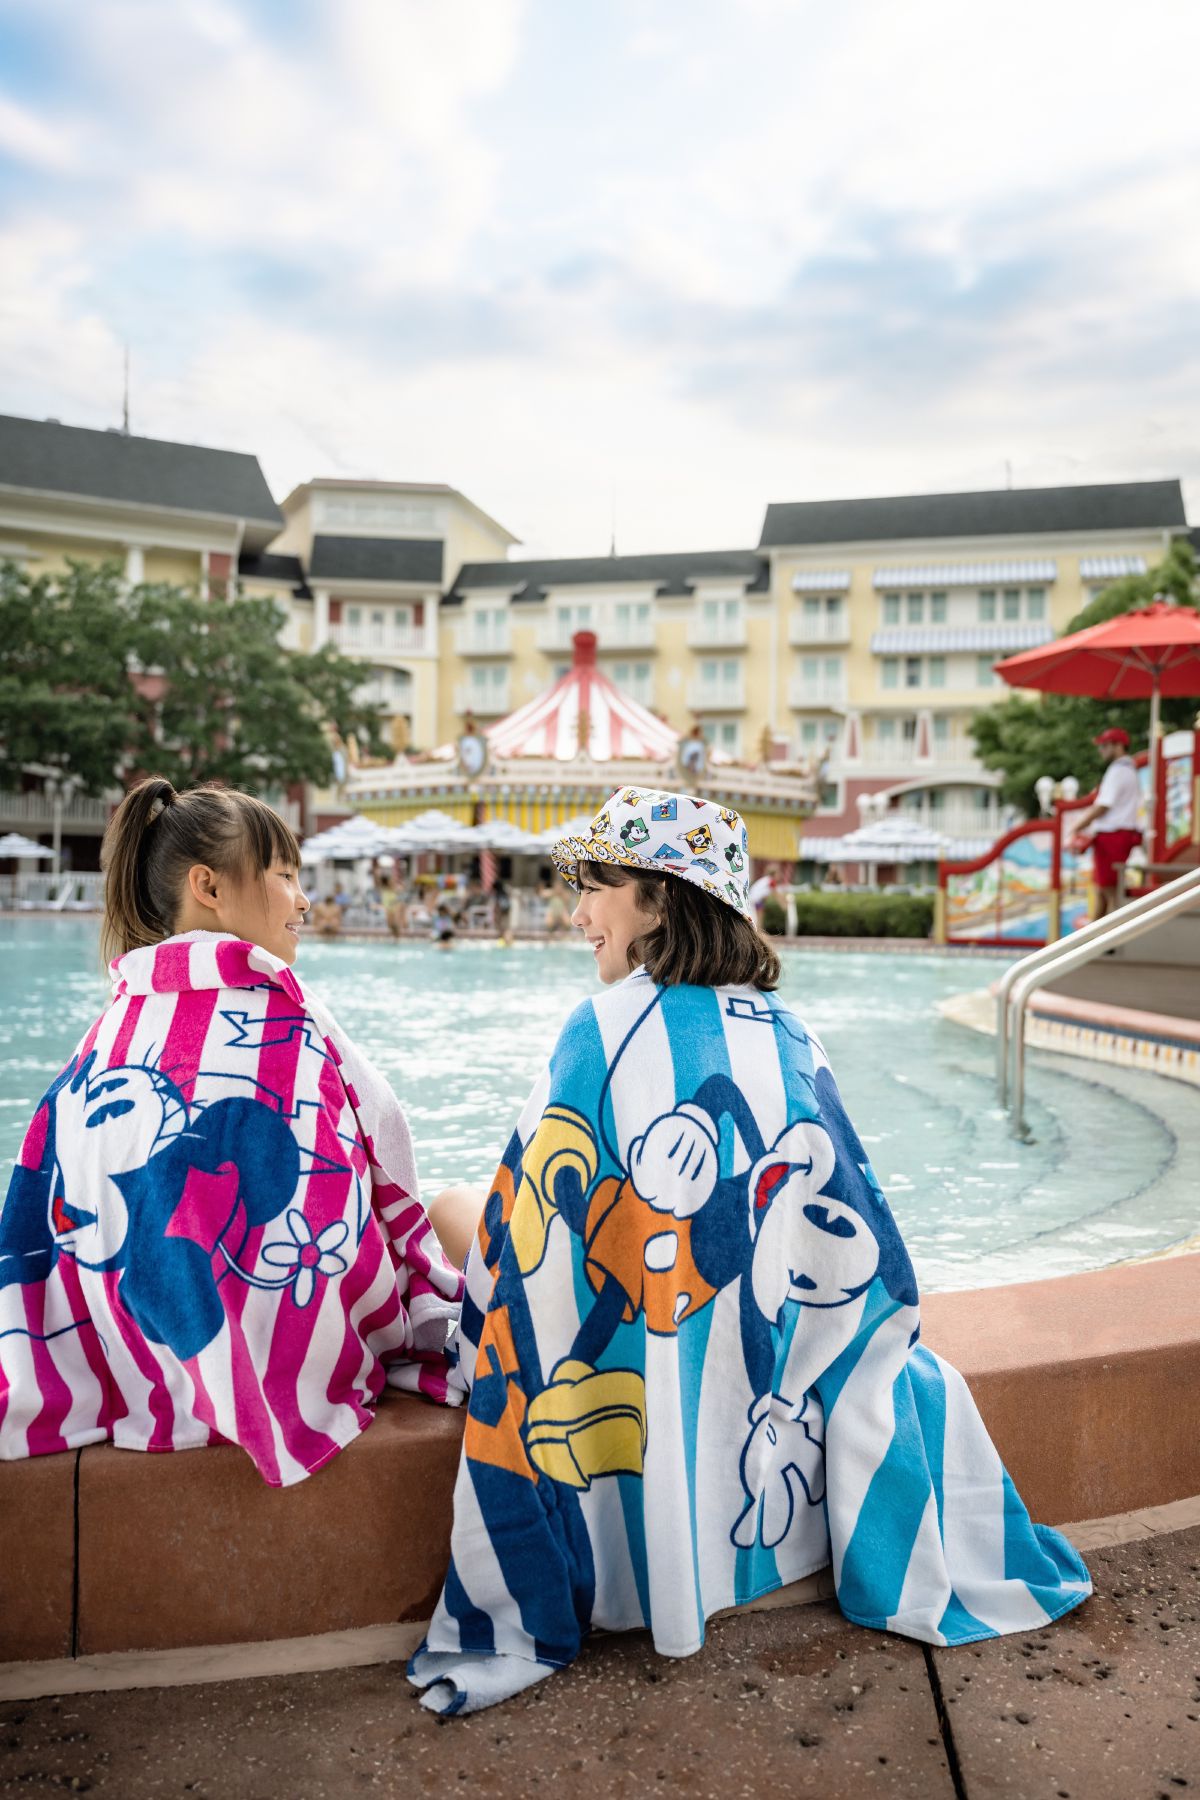
- Use the resort pool. Your MagicBand/MagicBand+ or the Unlock Door feature in the My Disney Experience app gives you access to your resort’s pool area before your room is ready. This is a great option if your family arrives in the morning and wants to relax before heading to the parks.
- Start your dining plan. If your package includes a Disney dining plan, you can start using it right away, even before your room is available. Grab a refillable mug from your resort’s quick-service restaurant, or sit down for a meal at any eligible location.
- Head to a park. Many families drop their bags, check in, and head straight to Magic Kingdom Park or another theme park. Your park tickets and Lightning Lane selections work whether your room is ready or not. When your room is ready, the app notifies you wherever you are.
For young families